Introduction
Making sure your digital items function properly is just as vital as the product itself in today’s market. Robust automated testing solutions are more important than ever, as improved deployment protocols and sophisticated development techniques are in high demand. Cypress is the best approach and framework for all of these. We’ll walk you through the entire installation and configuration procedure of Cypress for your testing needs in this article.
What is Cypress?
Cypress is a very fantastic and easy-to-use tool for thorough testing of web applications. Unlike traditional tools, Cypress works directly within the browser. This allows developers to write and run tests in real time. With its easy-to-understand syntax and powerful features, Cypress simplifies writing and advanced debugging tests. It is great for both developers and QA professionals.
Why Choose Cypress?
Before we dive into installation and setup, let’s understand why Cypress is a top choice for automated testing:
Fast and Reliable:
Cypress runs tests directly in the browser. This makes the process fast and reliable. It eliminates the need for complex setups and configurations.
Real-time Debugging:
With Cypress’s interactive test runner, developers can debug tests in real time. This makes it easier to spot and fix issues.
Automatic Waiting:
Cypress automatically waits for elements to appear before running commands. This reduces test flakiness and improves reliability.
End-to-End Testing:
Cypress supports end-to-end testing scenarios. This allows you to simulate real user interactions and workflows within your application.
Setting Up Cypress: Step-by-Step Guide
Cypress simplifies the process of testing web applications. It uses JavaScript for writing test scripts. Together, they form a powerful combo for automating tests and ensuring reliability. Here’s a step-by-step guide to set up Cypress:
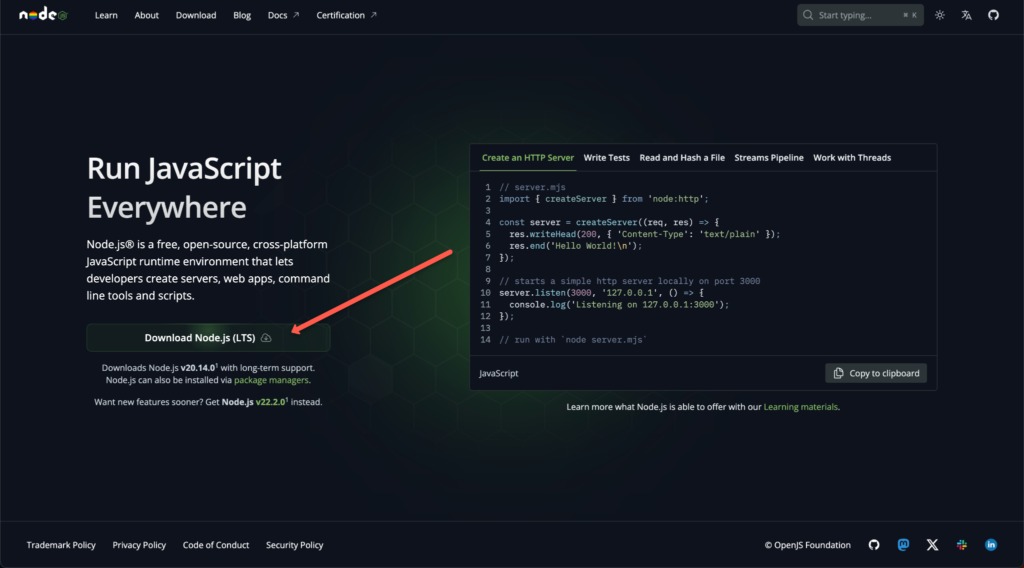
Download Node.js:
Visit Node.js and download it for your operating system. Node.js allows you to run JavaScript code outside a web browser. It is essential for running Cypress.
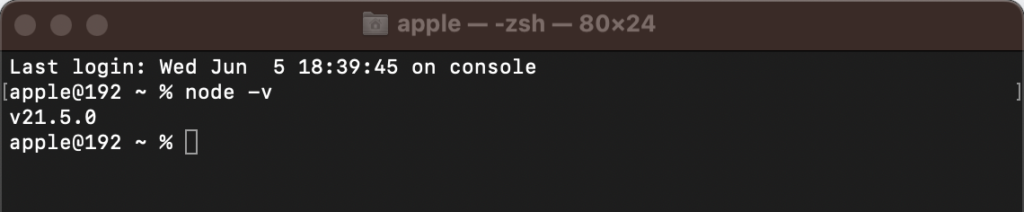
Verify Node.js Installation:
Open your terminal and type node -v to check if Node.js is installed. This command shows the installed version. It ensures successful installation.
Install VS Code:
Download and install Visual Studio Code (VS Code) or your preferred IDE for code editing. VS Code is user-friendly and perfect for writing and managing Cypress tests.
Create Project Folder:
If starting from scratch, create a folder for your project. Organizing files in a dedicated folder keeps your workspace tidy. It makes it easier to manage.
Open VS Code:
Launch VS Code and open the folder you created. VS Code offers powerful features for code editing, debugging, and version control. It is ideal for writing Cypress tests.

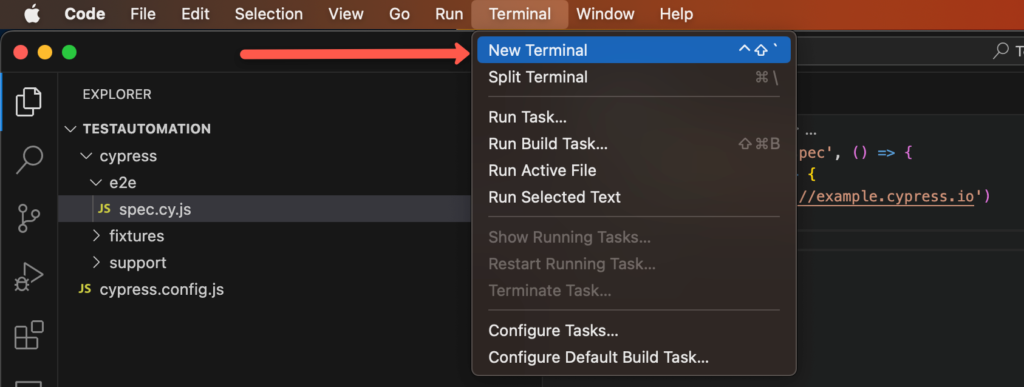
Open Terminal in VS Code:
Inside your project folder, open the terminal within VS Code. This integrated terminal lets you run commands directly within the IDE. It streamlines your workflow.
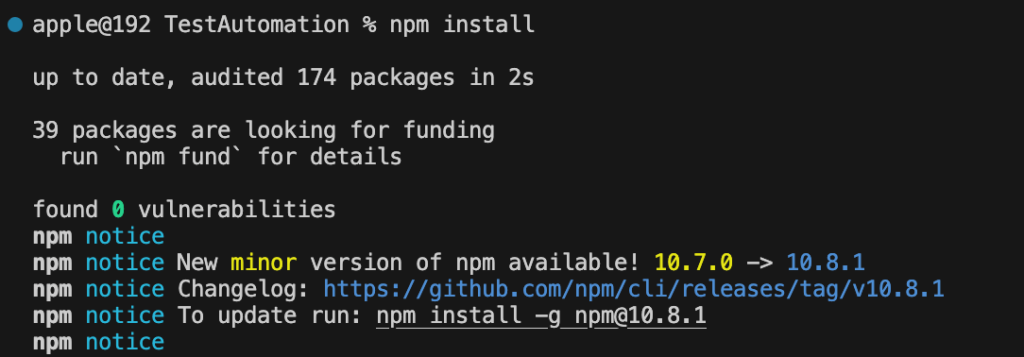
Install Node Package Manager (npm):
In the terminal, type npm install to install npm, the Node.js package manager. npm manages dependencies and installs packages for your Cypress project.
Install Cypress:
Install Cypress by typing npm install cypress –save-dev in the terminal. This installs Cypress as a dev dependency. It makes it easy to manage and share with your team.

Open Cypress:
To launch Cypress, type npx cypress open in the terminal. This opens Cypress in a new window. It is ready for you to start writing and running tests.

Setup Configuration Files:
When Cypress opens, click “Continue” to set up configuration files. Cypress creates default configuration files and folders. This allows customization to fit your project needs.
Start Testing:
Congratulations! Your Cypress setup is complete. You’re ready to start writing and executing tests for your web application. Cypress lets you write reliable tests. These tests simulate real user interactions. This ensures your software’s quality.
Conclusion
Following these steps, you can quickly set up Cypress. Use its powerful features to streamline your testing workflow. Whether you’re a developer or QA professional, Cypress provides the tools you need for reliable software testing.
At Siznam, we offer quality assurance, design, and development services. We help businesses achieve their software testing goals. Stay tuned to our blog for more insightful articles and updates on the latest trends in software testing and development.